Allegheny Valley Railroad

1 - 2 - 3
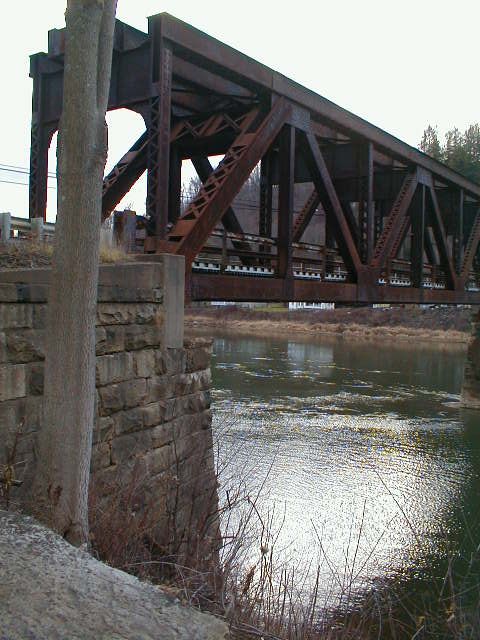
View of east pier.
View of east pier.
View looking west across span from the east bank.
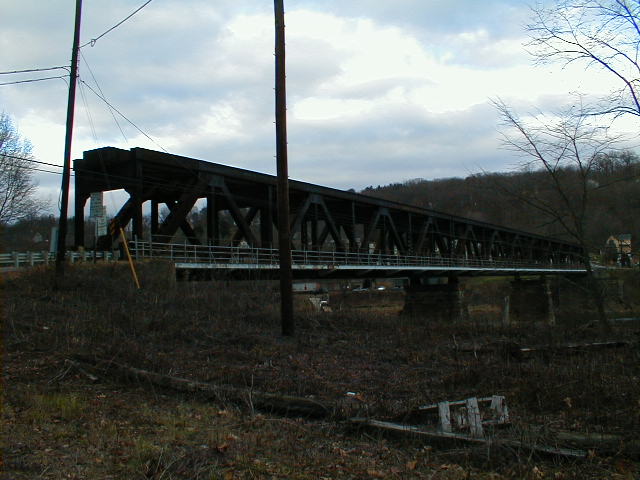
South side of span from west bank. Again, approach has been removed.
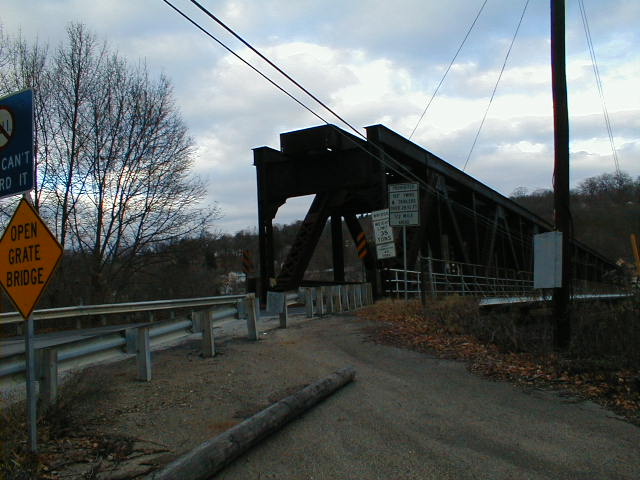
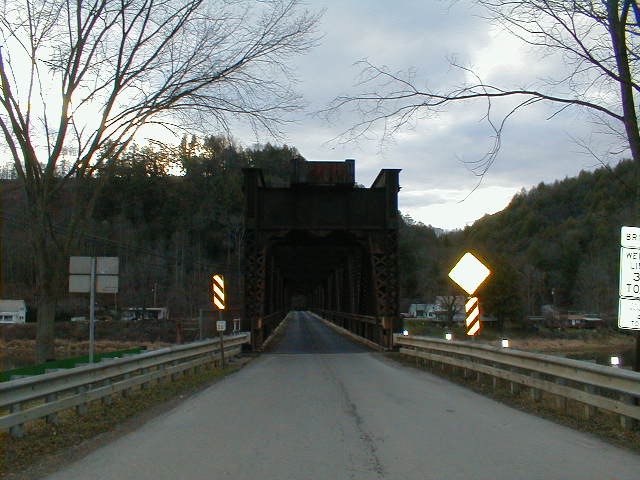
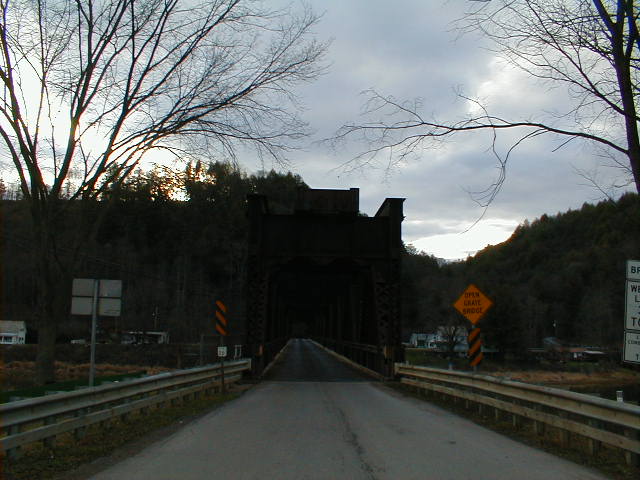
View of west end of bridge.
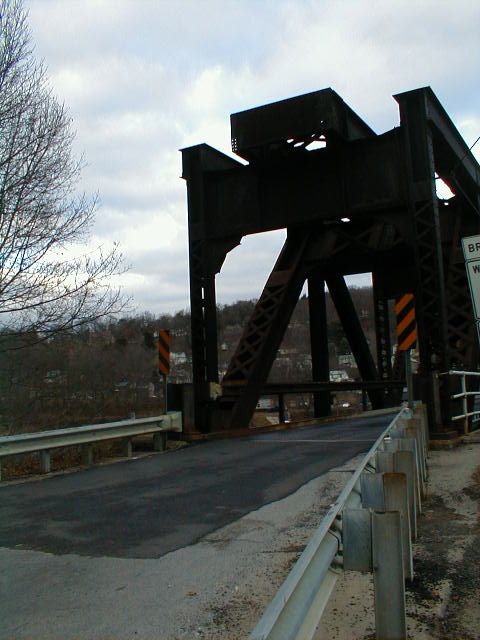
Another view of west end of bridge. Those 8 white dots on the upper deck appear to be missing rivets.
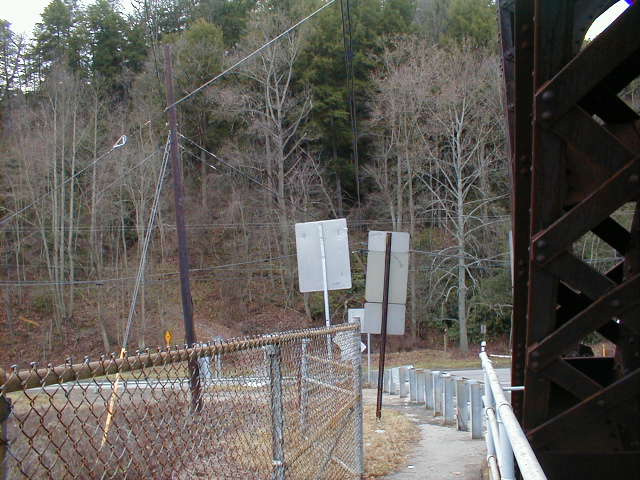
View back at embankment where railroad entered b ridge on west bank (across highway to the left)
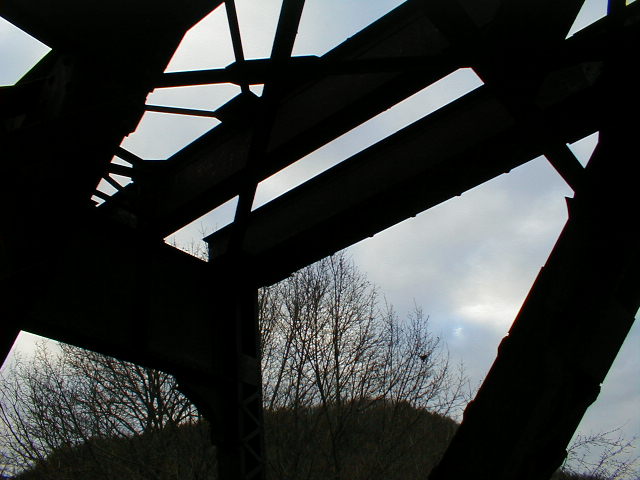
Looking up at the upper deck at the west end.
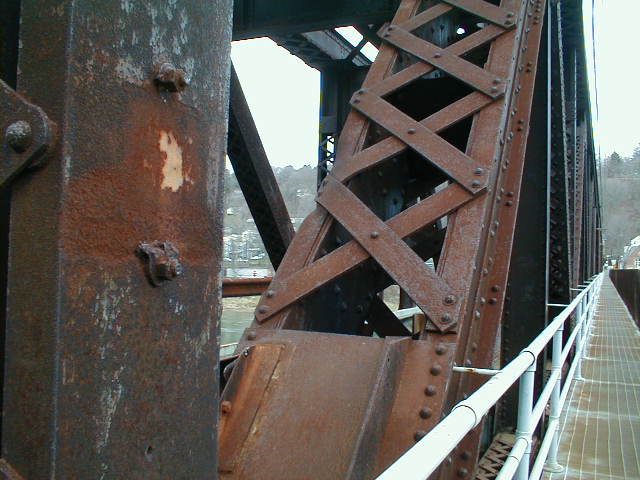
Looking down the south edge of the bridge at the west end. Note the damage on the diagonal bent in the foreground.
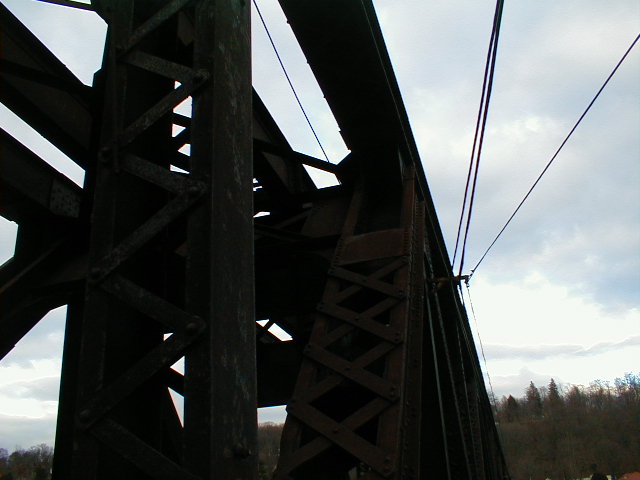
Another look up at the upper deck and at wires carried on the span.
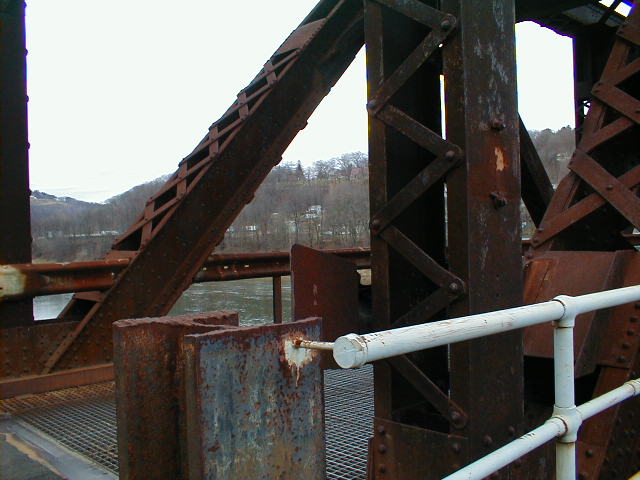
The supports for the western approach have also been cut off.
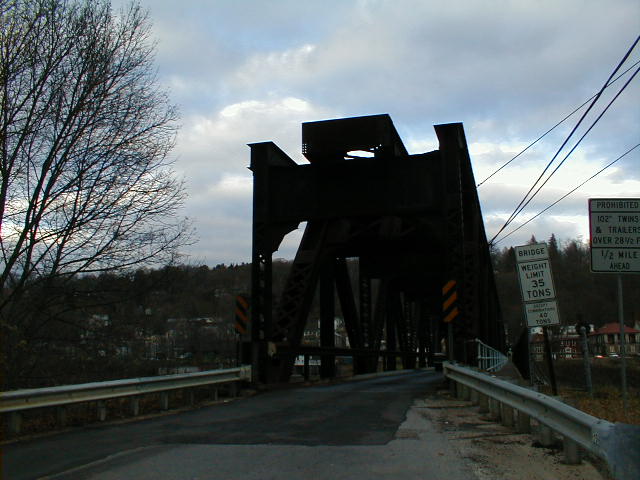
Looking at the west end of the span, view east.
1 - 2 - 3